|


PreAssembly
Windows (video) (slideshow)
Brackets (slideshow)
Railings (paint and assemble)
Foundation
Painting (first coat)
Start the Wiring
Assembly
Housebody
Painting (second-coat)
Porch
Roof prep. (here) Roof
Dormer
Trim
If your floors are tight in the grooves, scrape them
Click on the thumbnail for a printable copy
|
DHTMLGoodies.com
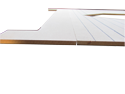
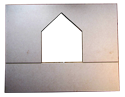 1. Front Roof and Porch Roof, facing up
Assembly/RoofPrep/01D.png
1. Front Roof and Porch Roof, facing up
Assembly/RoofPrep/01D.png
DHTMLGoodies.com
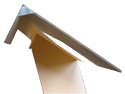
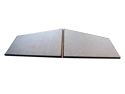
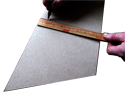
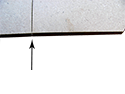
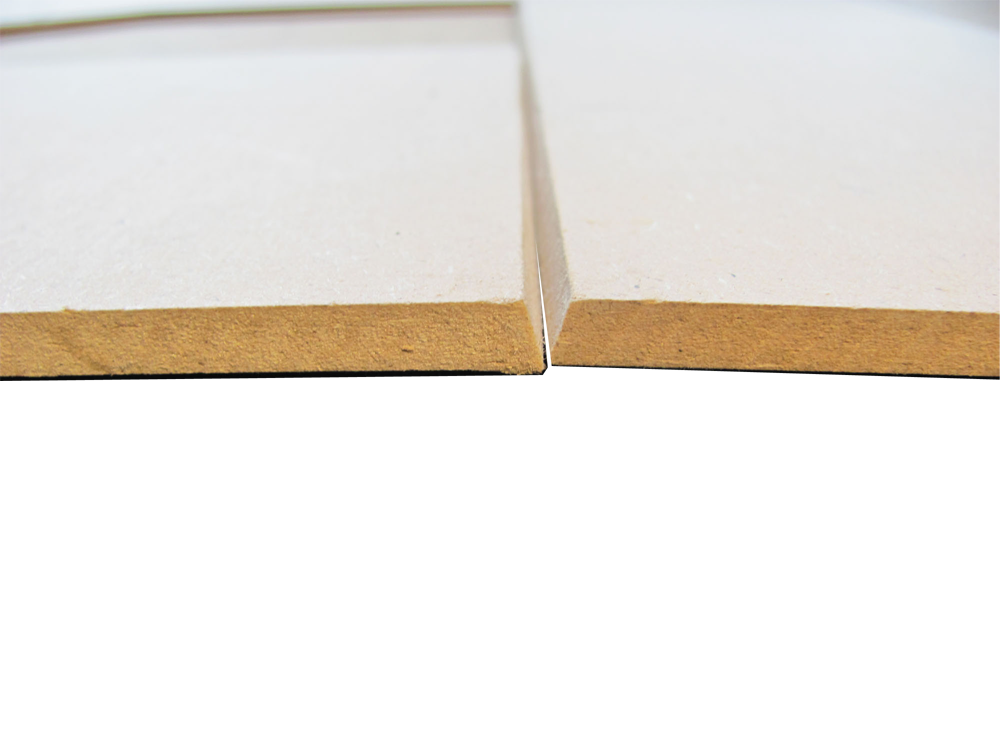
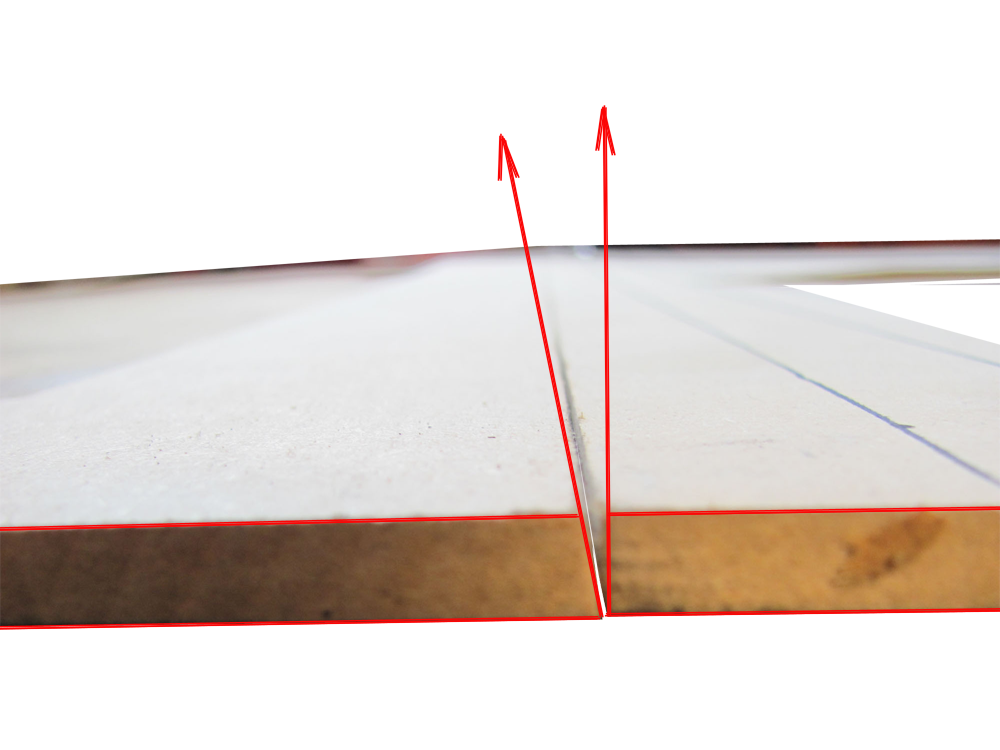
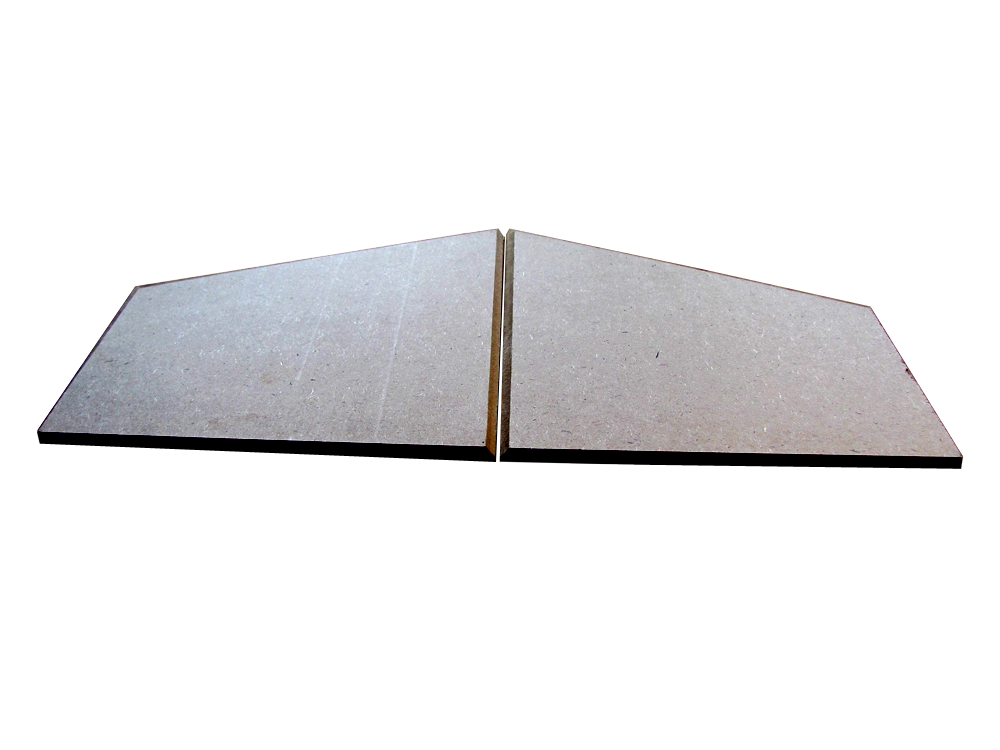
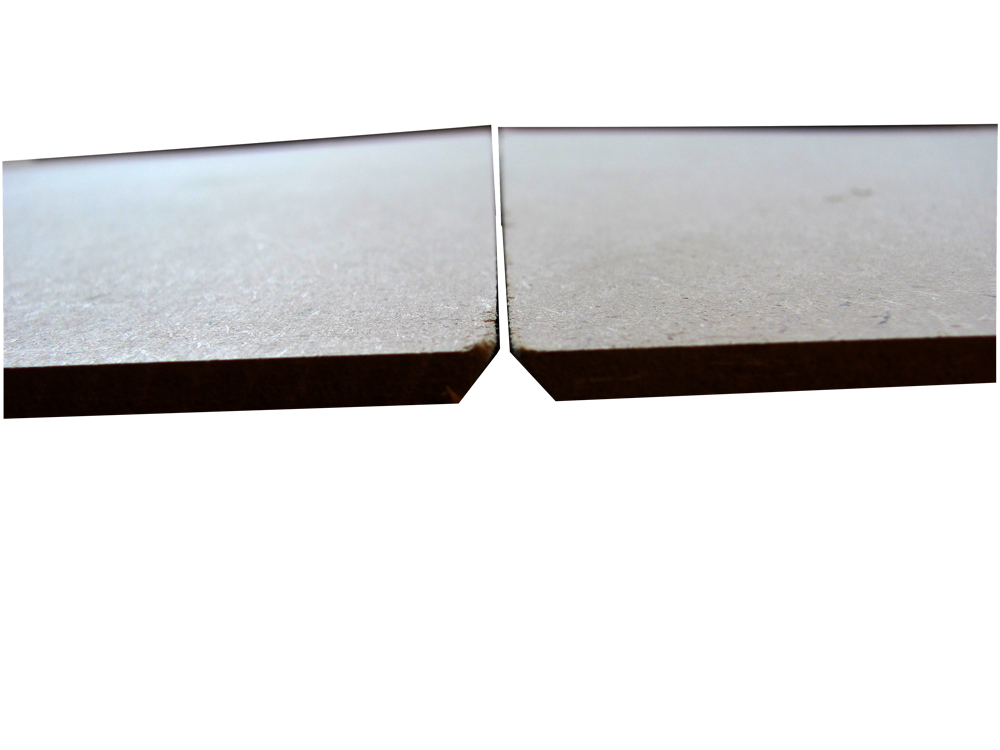
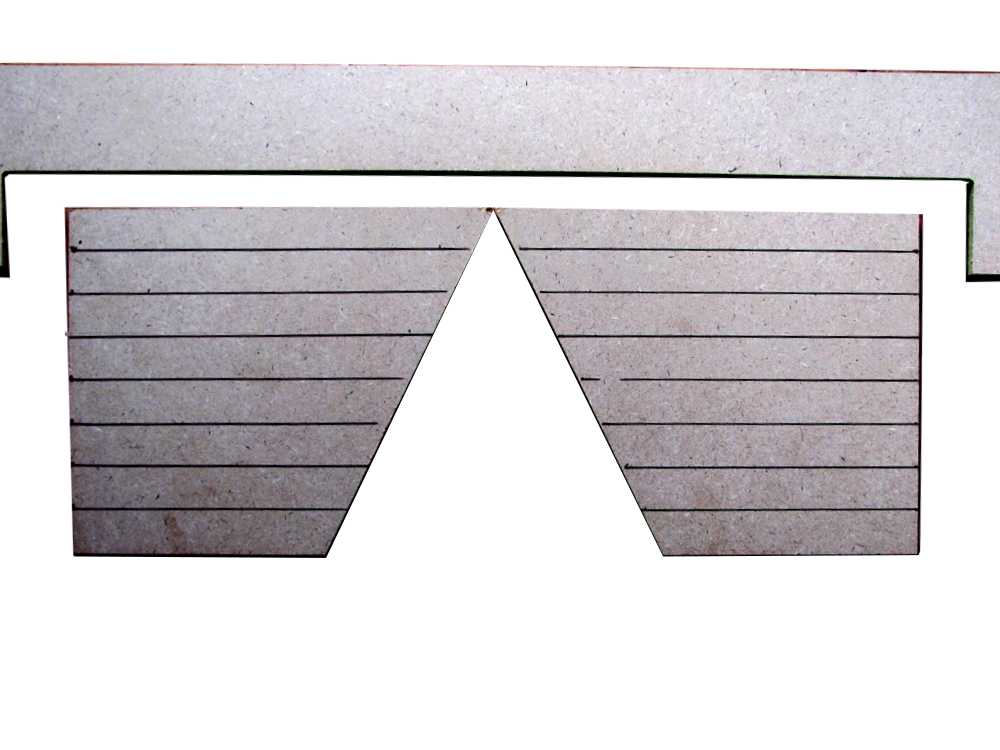
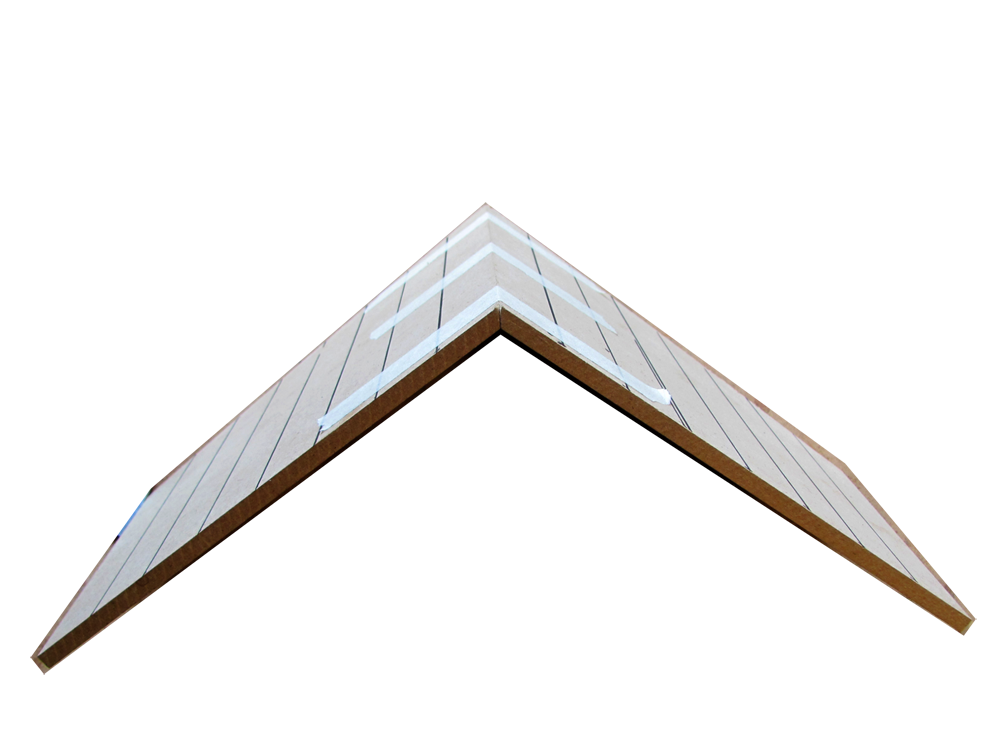
 2. The bevels are facing up with the points touching
Assembly/RoofPrep/03D.png
2. The bevels are facing up with the points touching
Assembly/RoofPrep/03D.png
DHTMLGoodies.com
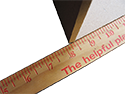
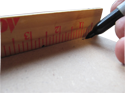
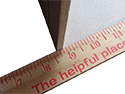
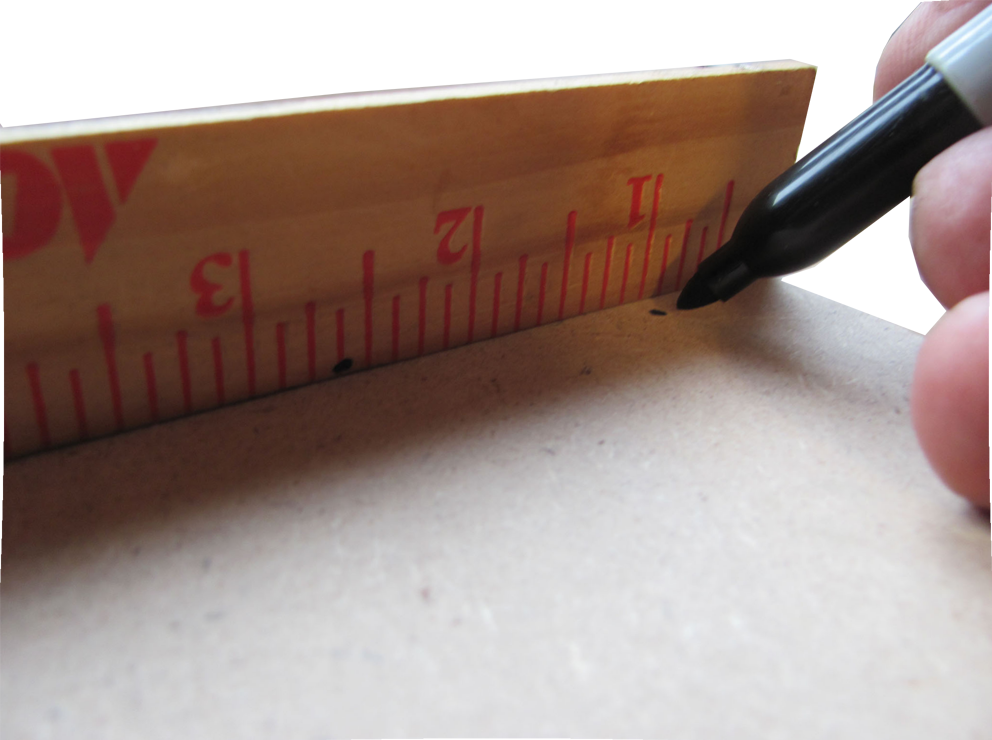
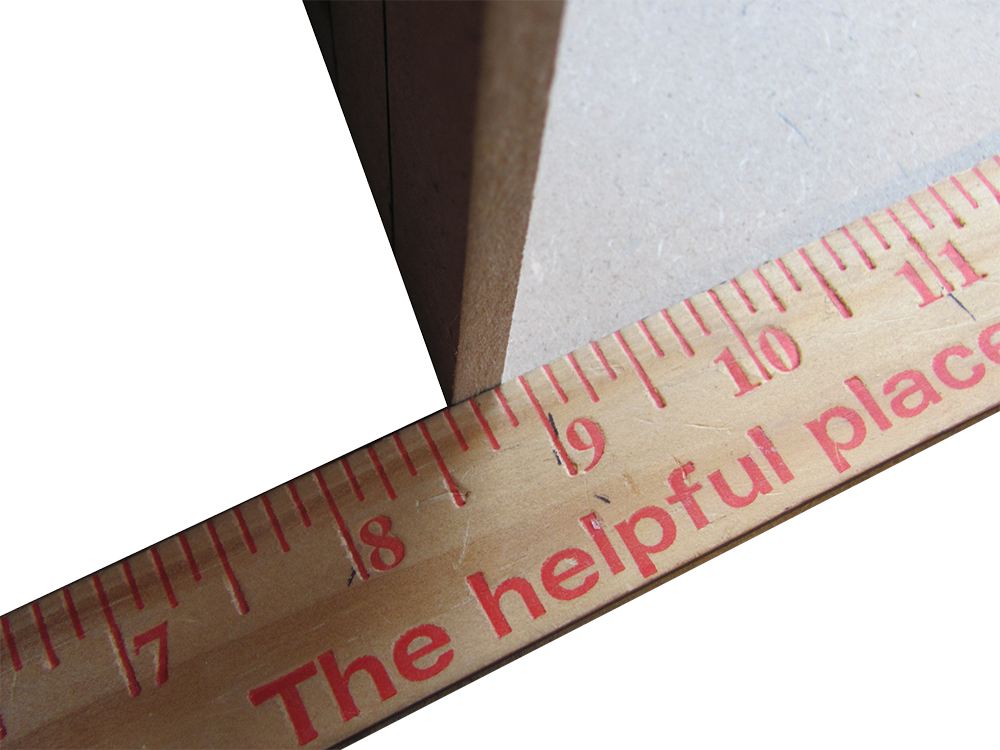
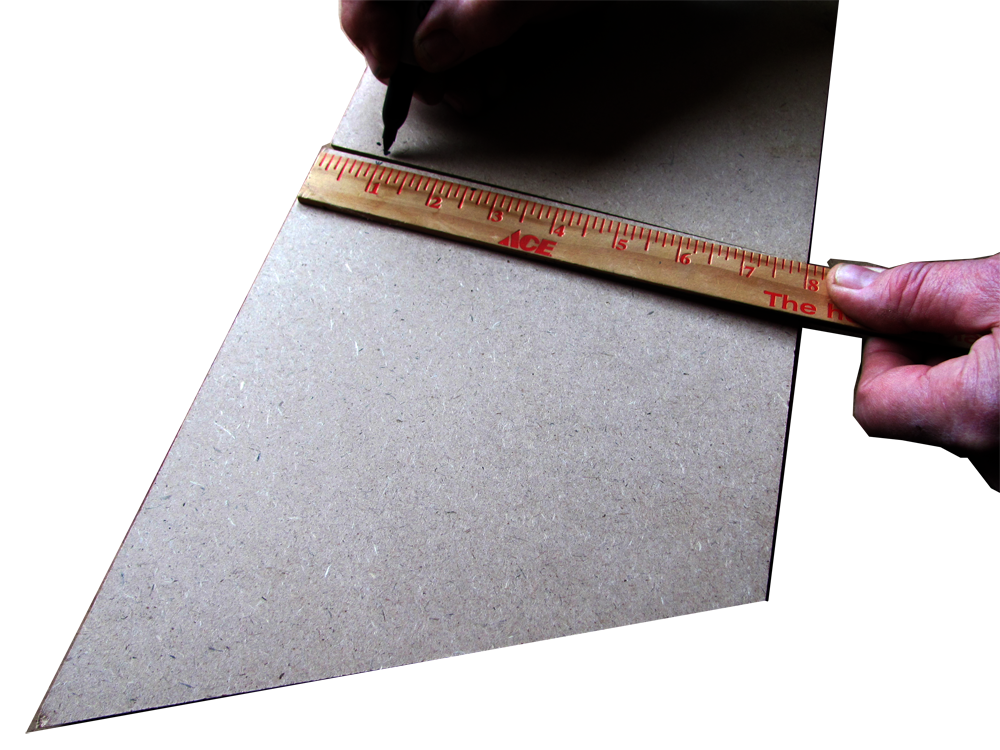
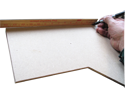 4. Starting at the top, marking 1 inch increments
Assembly/RoofPrep/04D.png
4. Starting at the top, marking 1 inch increments
Assembly/RoofPrep/04D.png
DHTMLGoodies.com
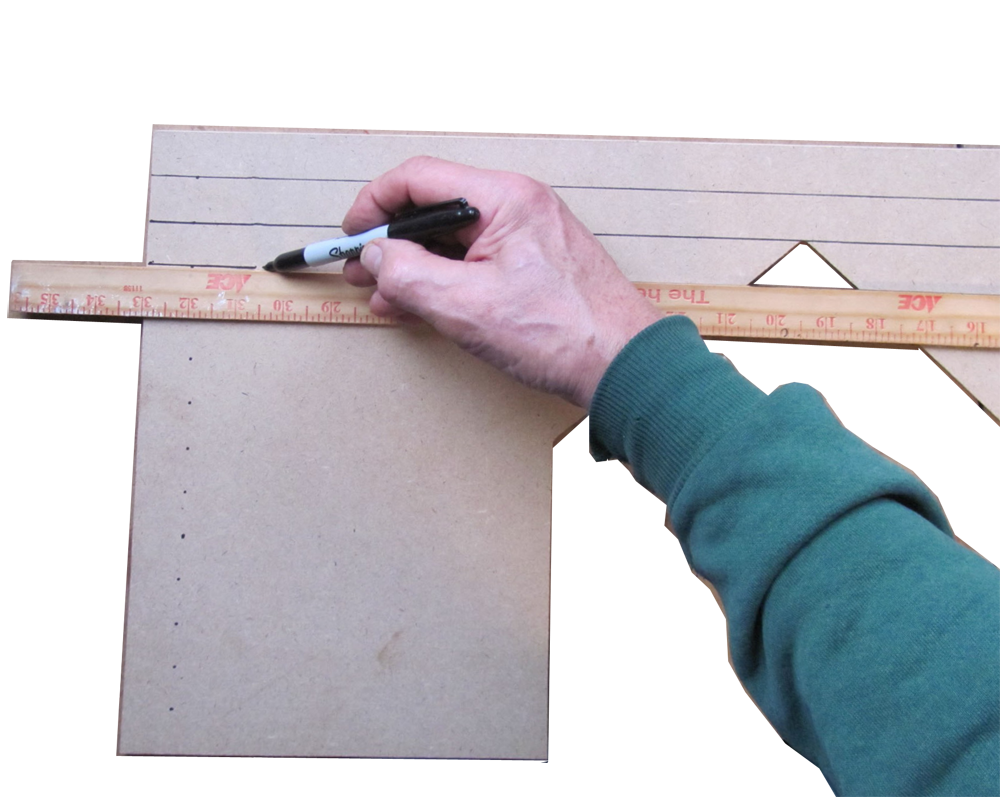
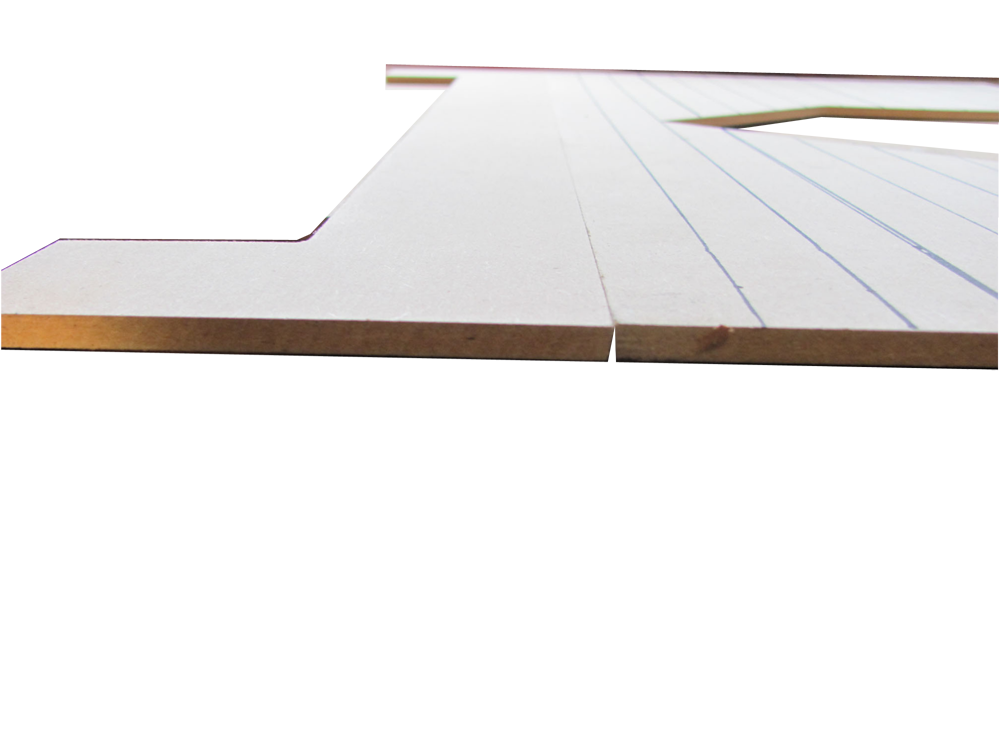
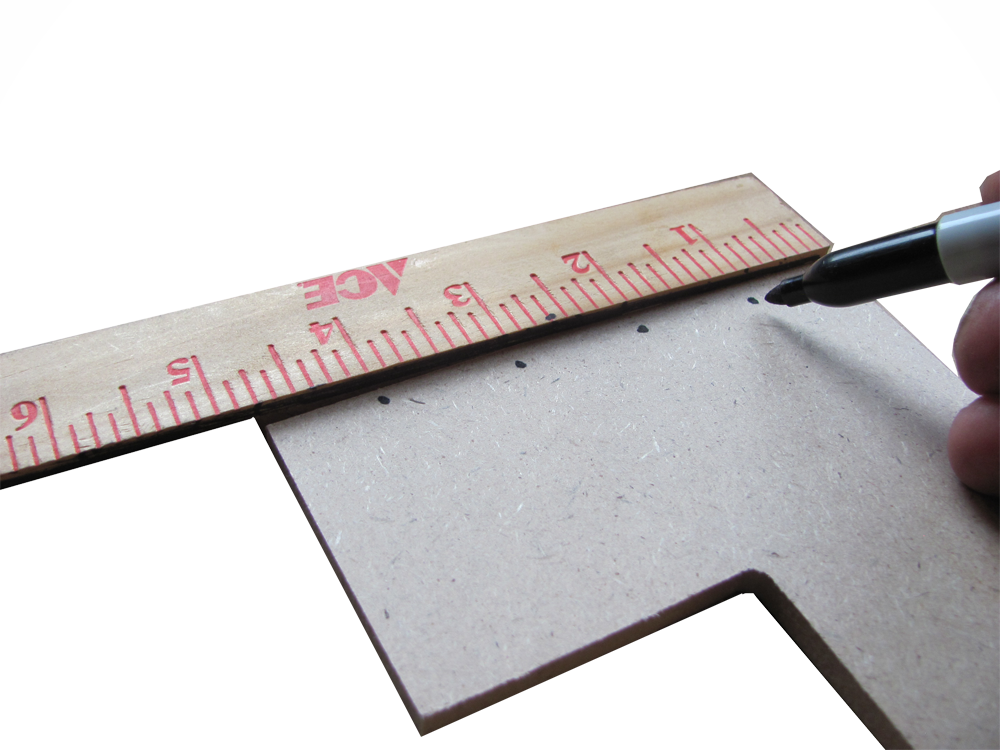
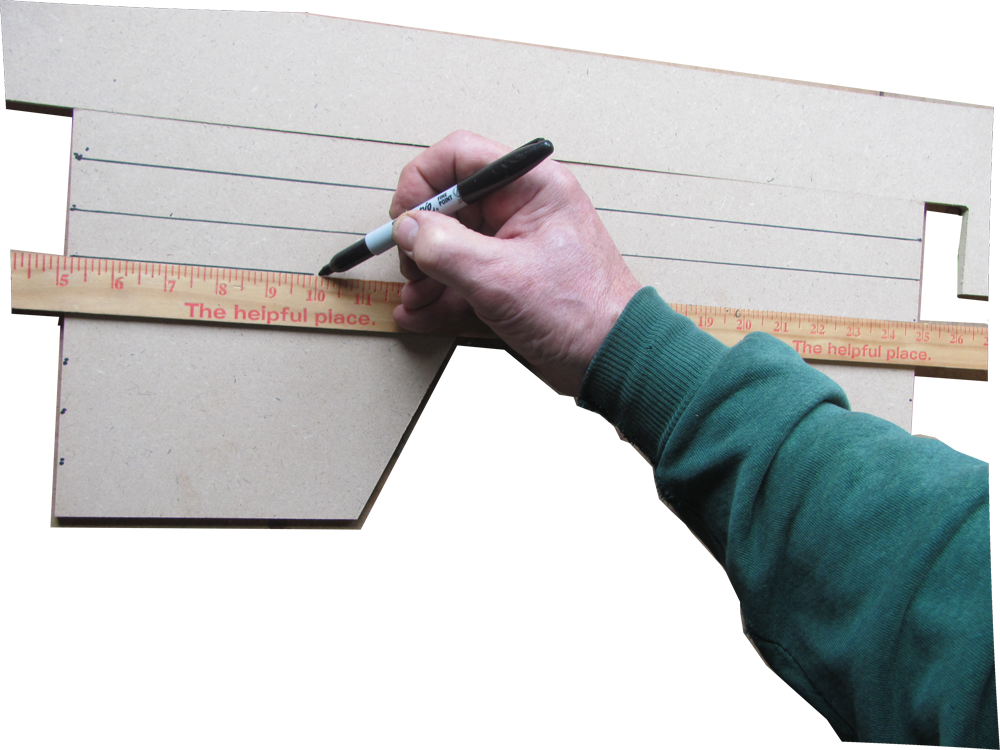
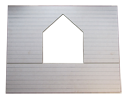 7. Mark the Porch Roof in the same way
Assembly/RoofPrep/07D.png
7. Mark the Porch Roof in the same way
Assembly/RoofPrep/07D.png
DHTMLGoodies.com
 9. If the bevel is facing up, it's up-side-down
Assembly/RoofPrep/09D.png
9. If the bevel is facing up, it's up-side-down
Assembly/RoofPrep/09D.png
DHTMLGoodies.com
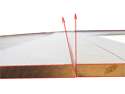
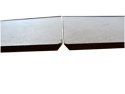
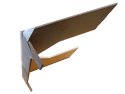
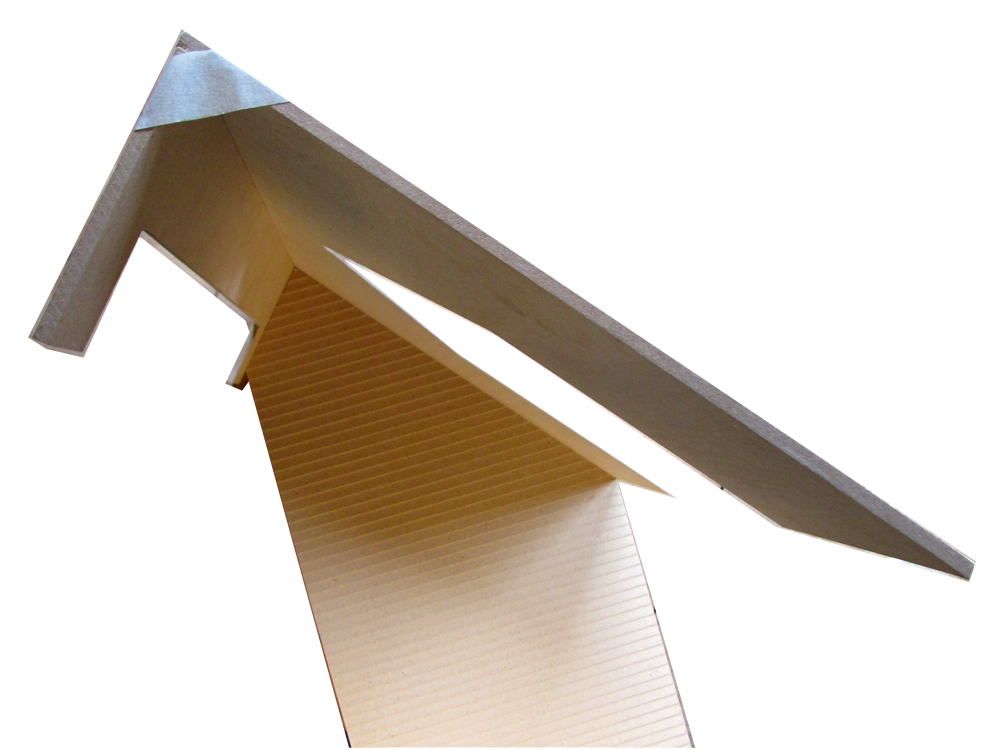
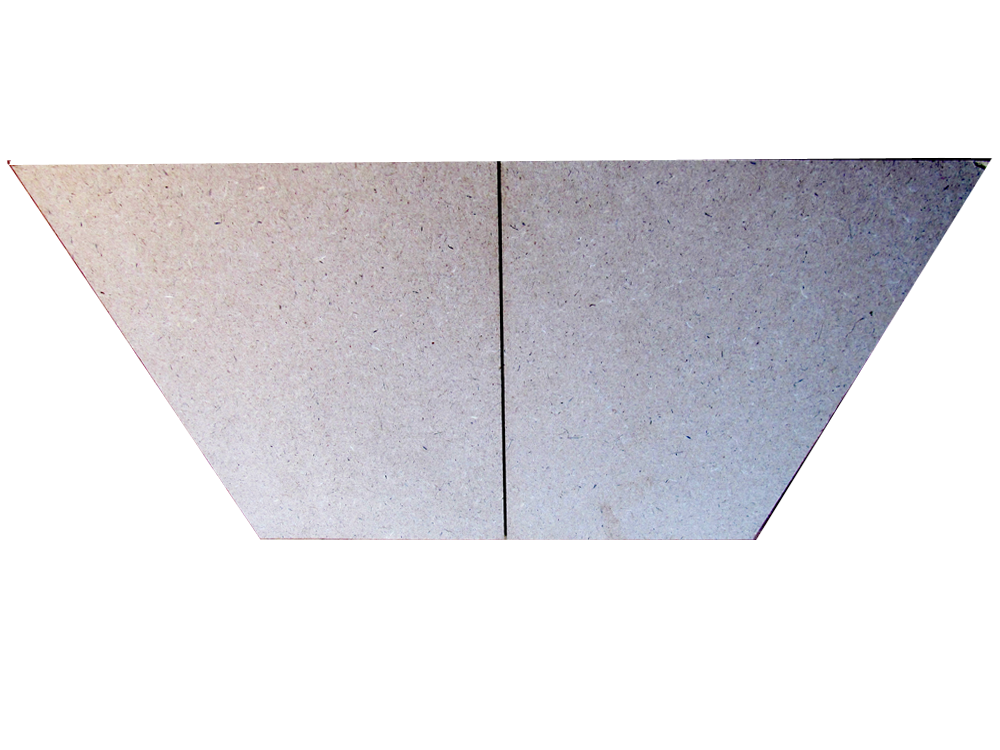
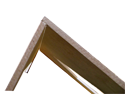 11. When the bevel is aimed correctly, the roofs will be angled like this
Assembly/RoofPrep/11D.png
11. When the bevel is aimed correctly, the roofs will be angled like this
Assembly/RoofPrep/11D.png
DHTMLGoodies.com
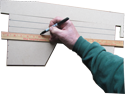
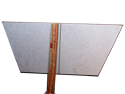
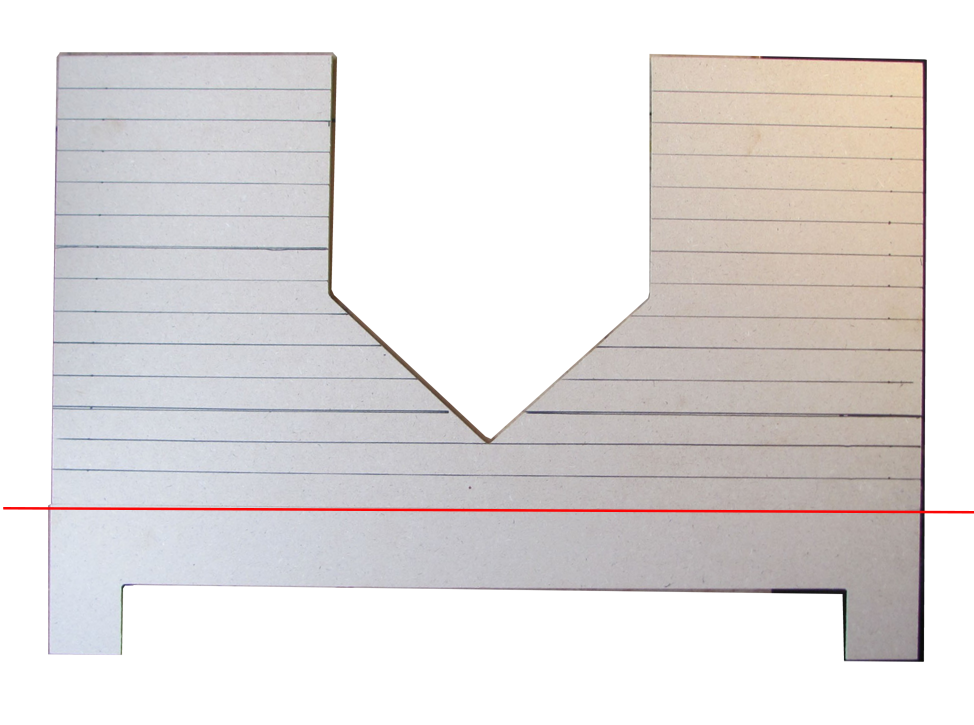
 12. The angle fits the angle of the sidewall
Assembly/RoofPrep/12D.png
12. The angle fits the angle of the sidewall
Assembly/RoofPrep/12D.png
DHTMLGoodies.com
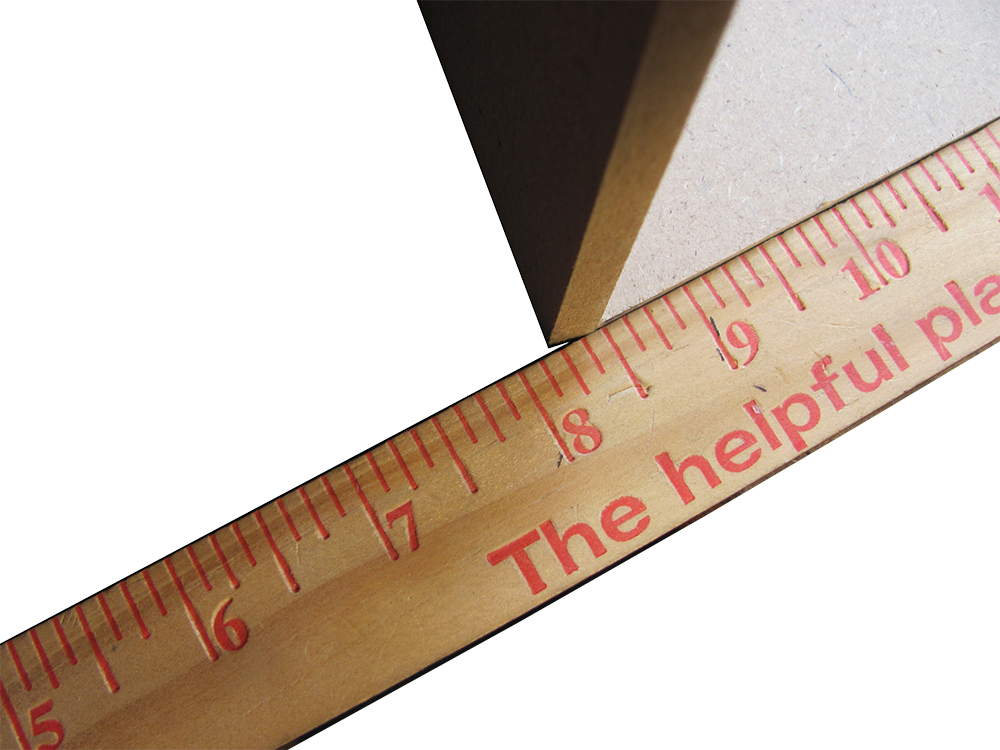
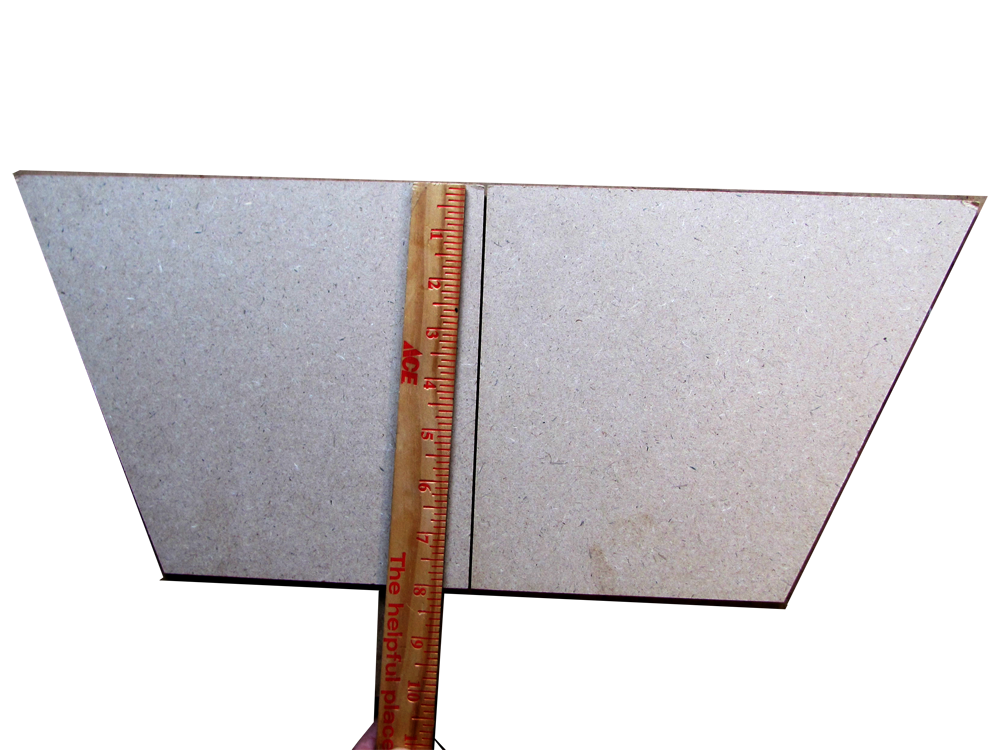
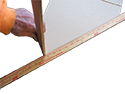 12A. So, lining it up with a straight edge...
Assembly/RoofPrep/12AD.png
12A. So, lining it up with a straight edge...
Assembly/RoofPrep/12AD.png
DHTMLGoodies.com
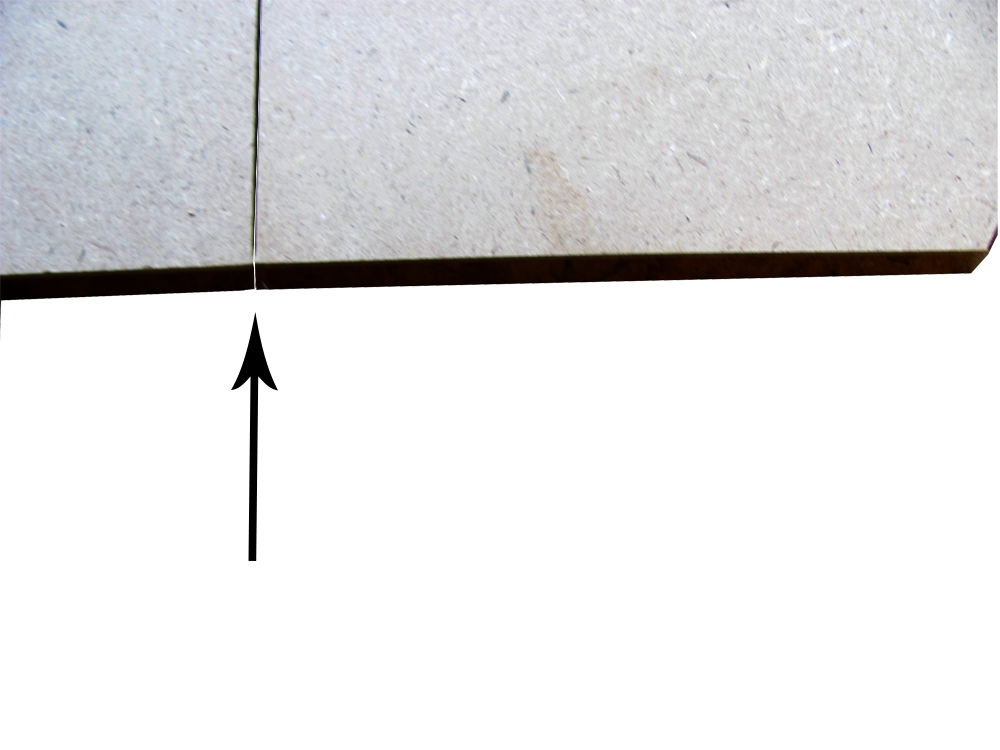
 12B. If there's a gap, it's up-side-down
Assembly/RoofPrep/12BD.png
12B. If there's a gap, it's up-side-down
Assembly/RoofPrep/12BD.png
DHTMLGoodies.com
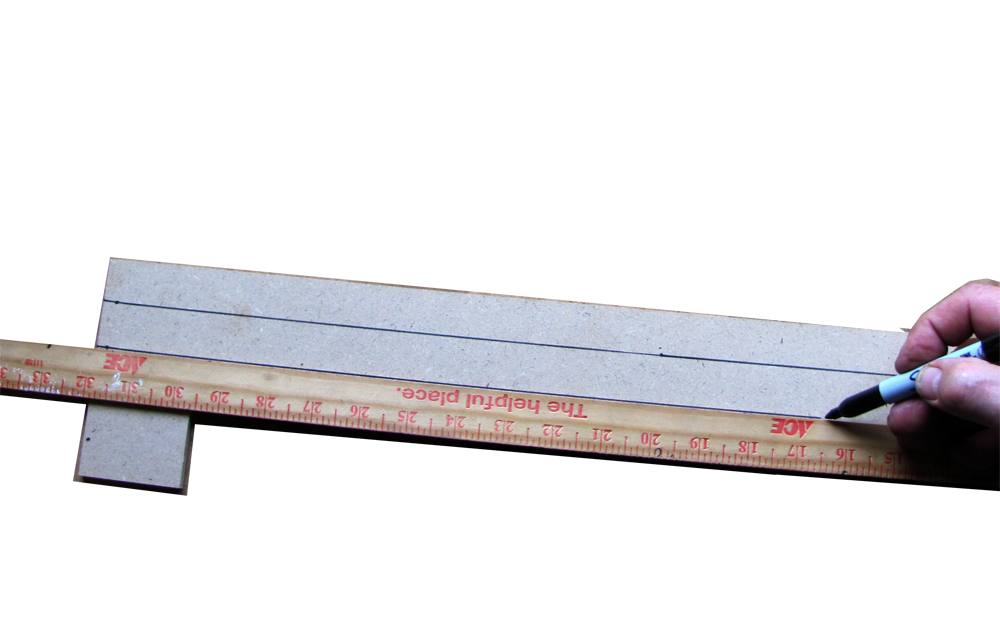
 14. Starting at the top, mark 1 inch intervals
Assembly/RoofPrep/14D.png
14. Starting at the top, mark 1 inch intervals
Assembly/RoofPrep/14D.png
DHTMLGoodies.com
 17. These Dormer Roofs are up-side-down
Assembly/RoofPrep/17D.png
17. These Dormer Roofs are up-side-down
Assembly/RoofPrep/17D.png
DHTMLGoodies.com
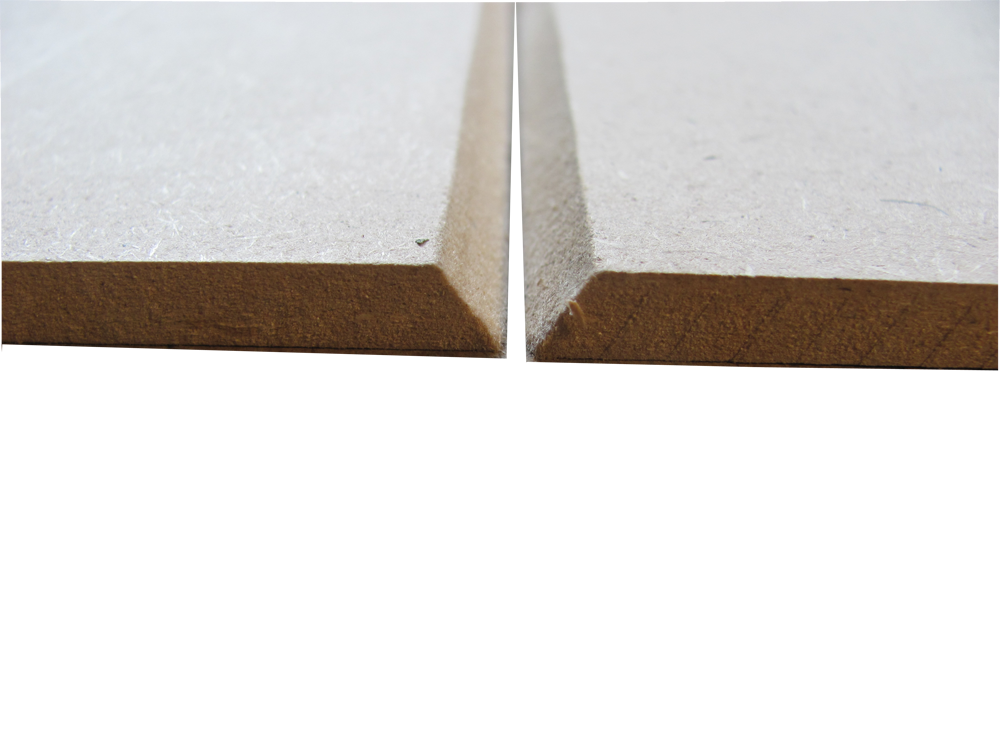
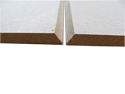 18. Detail of the bevels when the roofs are up-side-down
Assembly/RoofPrep/18D.png
18. Detail of the bevels when the roofs are up-side-down
Assembly/RoofPrep/18D.png
DHTMLGoodies.com
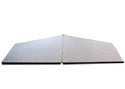
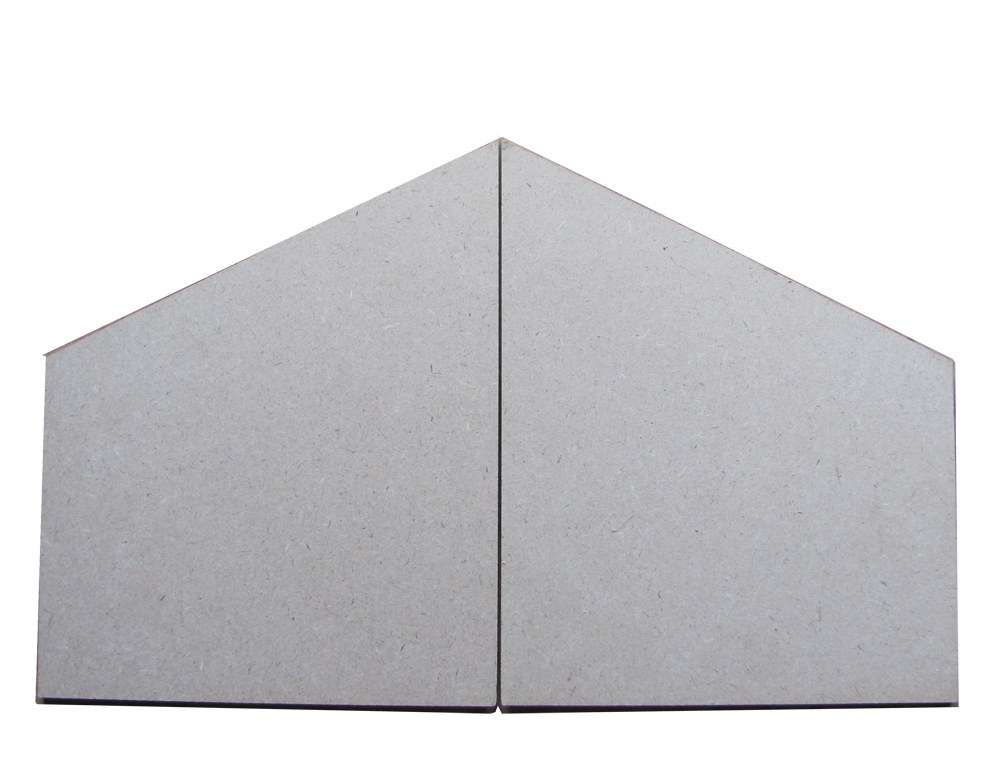
 19. They are now right-side-up and touching at the peaks
Assembly/RoofPrep/19D.png
19. They are now right-side-up and touching at the peaks
Assembly/RoofPrep/19D.png
DHTMLGoodies.com
 21. Detail of the peak bevel when the roofs are right-side-up
Assembly/RoofPrep/21D.png
21. Detail of the peak bevel when the roofs are right-side-up
Assembly/RoofPrep/21D.png
DHTMLGoodies.com
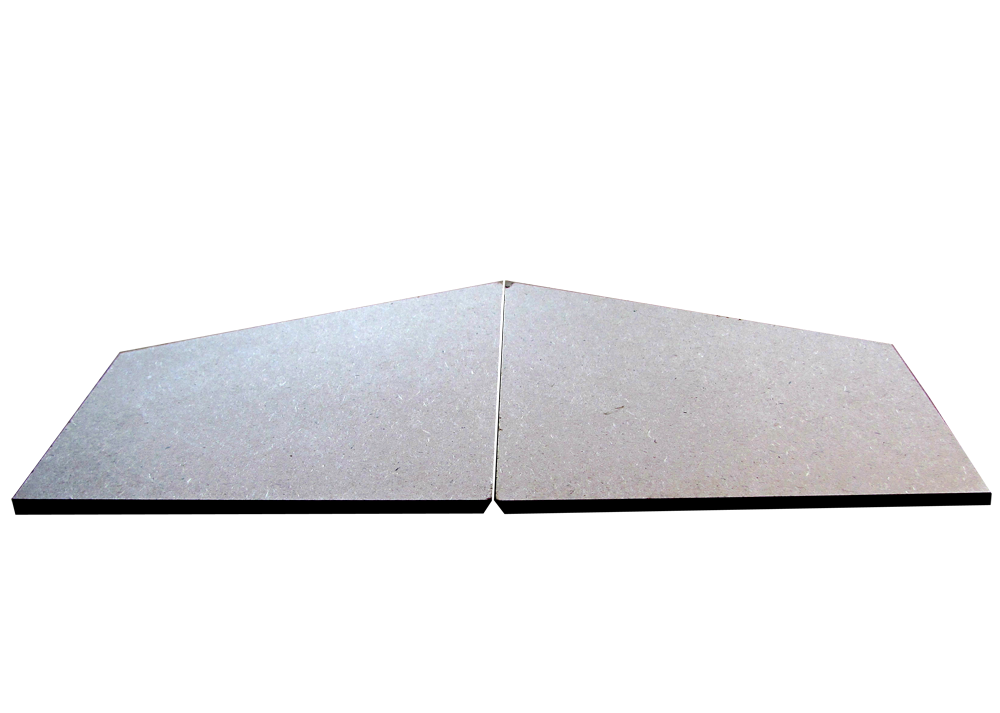
 22. Turn the Roofs to touch at the front edges
Assembly/RoofPrep/22D.png
22. Turn the Roofs to touch at the front edges
Assembly/RoofPrep/22D.png
DHTMLGoodies.com
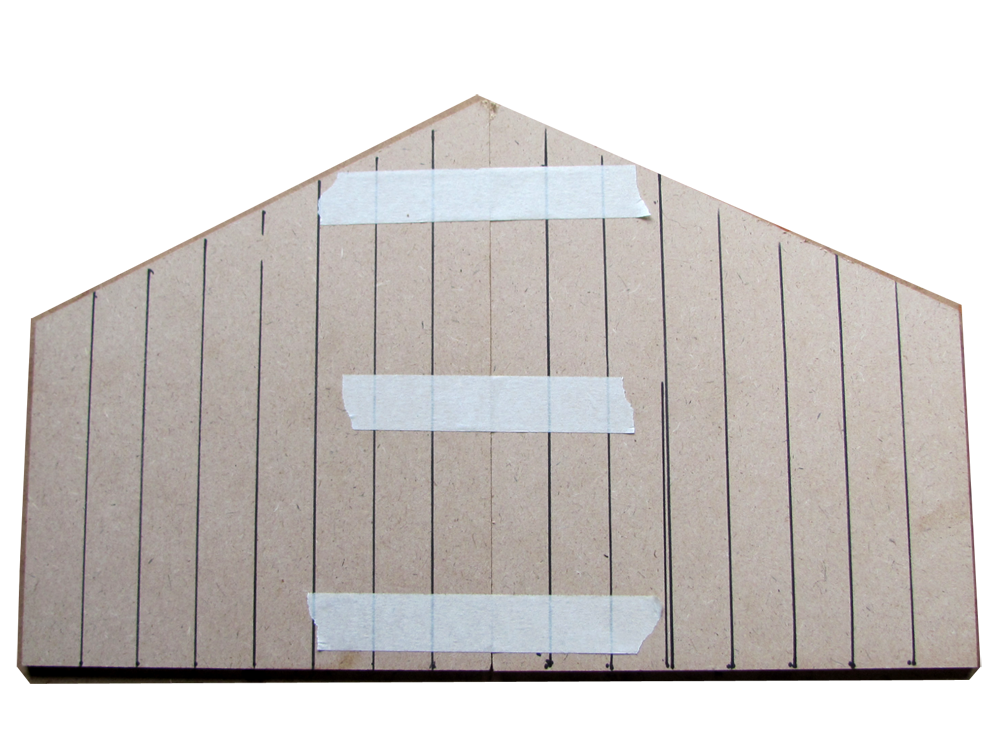
 25. Mark 1 inch intervals starting at the top
Assembly/RoofPrep/25D.png
25. Mark 1 inch intervals starting at the top
Assembly/RoofPrep/25D.png
DHTMLGoodies.com
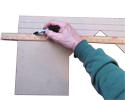
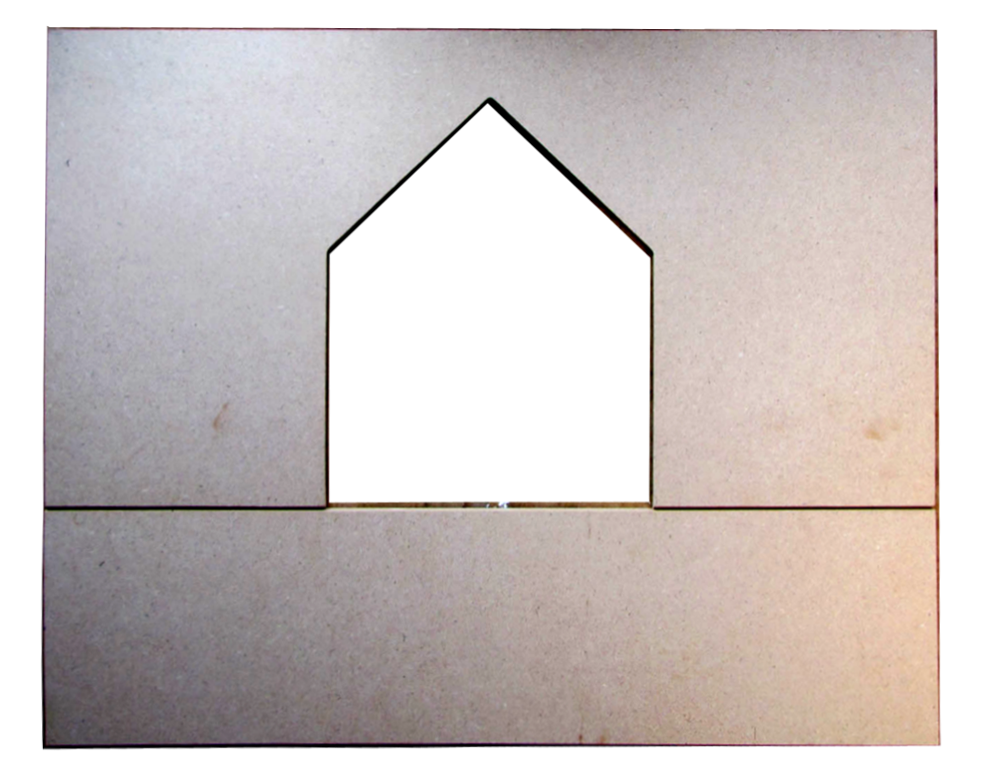
 26. The peaks are against a straight edge (I'm using the Rear Roof)
Assembly/RoofPrep/26D.png
26. The peaks are against a straight edge (I'm using the Rear Roof)
Assembly/RoofPrep/26D.png
DHTMLGoodies.com
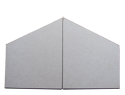
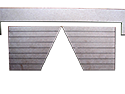
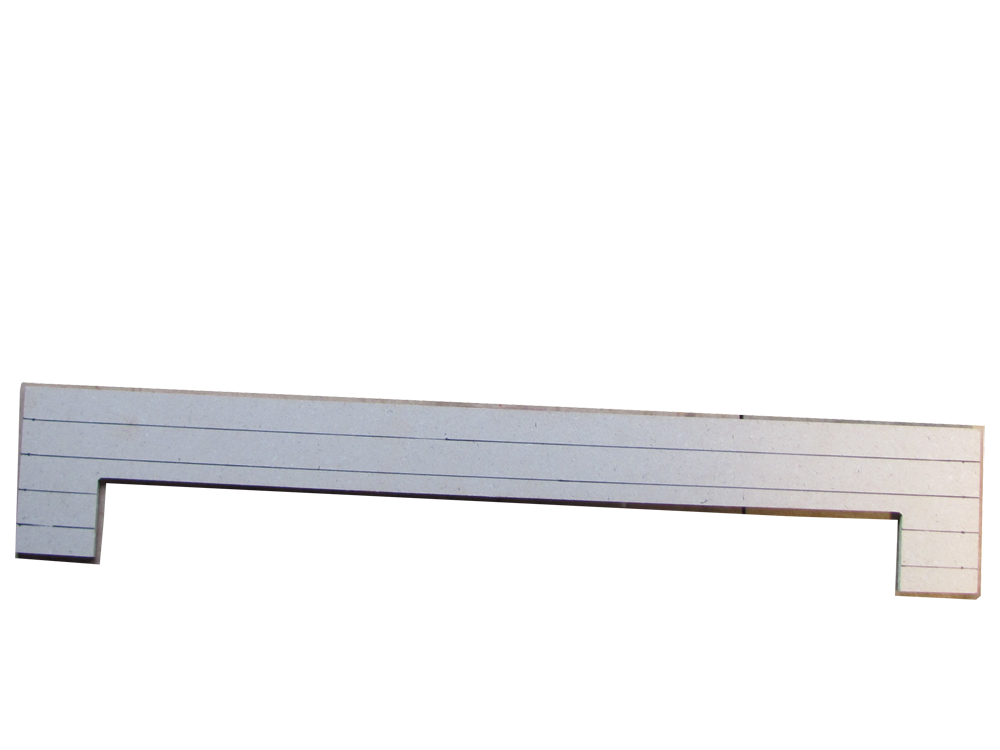
 28.This is how the Dormer Roofs will be assembled
Assembly/RoofPrep/28D.png
28.This is how the Dormer Roofs will be assembled
Assembly/RoofPrep/28D.png
DHTMLGoodies.com
 29. and how they will look on the house
Assembly/RoofPrep/29D.png
29. and how they will look on the house
Assembly/RoofPrep/29D.png
|


